
Introduction
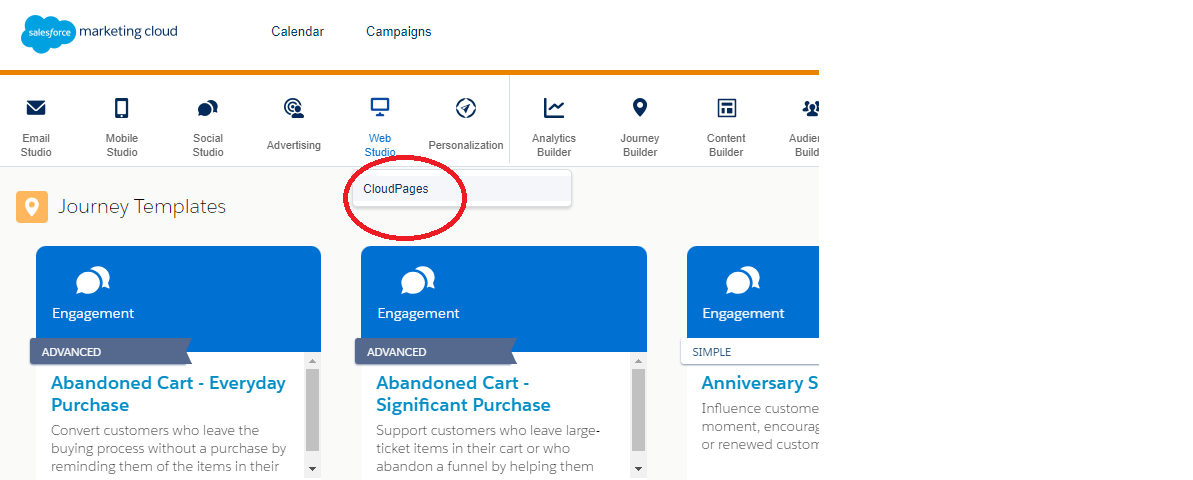
Salesforce Marketing Cloud is a comprehensive marketing automation platform that enables companies to create and deliver personalized customer journeys across multiple channels. One of Marketing Cloud’s key features is Cloud Pages, a powerful tool that allows companies to create custom landing pages and microsites that can be used to promote products, capture leads, and engage with customers.
Cloud Pages is a drag-and-drop tool that allows businesses to create and publish custom landing pages and microsites quickly and easily. With Cloud Pages, businesses can create landing pages for email campaigns, social media ads, or search engine marketing campaigns and customize them with dynamic content, personalized messaging, and engaging imagery.
To use Cloud Pages in Salesforce Marketing Cloud, companies need to follow the steps below:
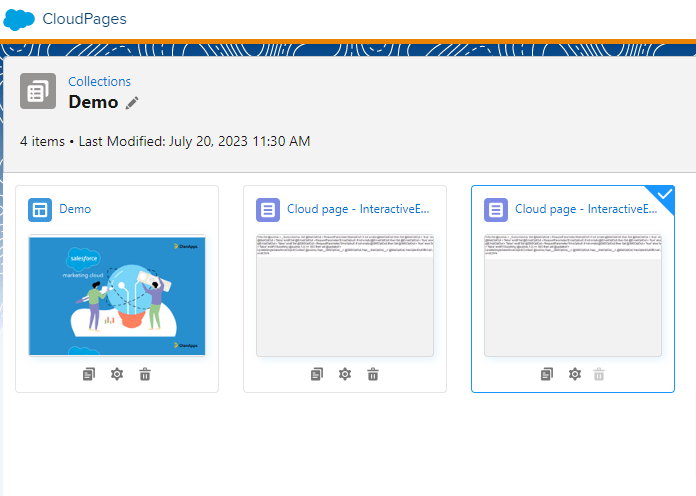
Cloud Pages Collection:
To create a Cloud Pages collection in Salesforce Marketing Cloud, complete the following steps:
Access Content Builder: Log in to your Salesforce Marketing Cloud account and navigate to the Content Builder section.
Create a collection: In Content Builder, click the “Create” button and select “Collection” from the drop-down menu.
Define the collection properties: Specify a name for your cloud page collection and optionally add a description to provide context.
Configure the collection settings: Specify the settings for your collection. This includes selecting the folder where the collection is stored, setting visibility (private or shared), and setting permissions to access and manage the collection.
Adding cloud pages to the collection: Once your collection is created, you can start adding cloud pages to it. Click the “Add Item” button and select the cloud pages you want to add. You can add multiple cloud pages to a single collection.
Arrange and customize the collection: Arrange the order of the cloud pages within the collection by dragging and dropping them into the desired order. You can also customize the collection by adding a thumbnail image, providing a description, and configuring other display options.
Publish the collection: When you have added and customized the cloud pages in the collection, click the “Publish” button to share the collection for use.
Access the collection: Your cloud pages collection is now created and published. You can access it by using the generated URL provided in the collection details. This URL can be shared with your audience or embedded in emails, landing pages, or other digital assets.
Manage and update the collection: You can manage and update the cloud pages collection at any time. You can add new cloud pages, remove existing ones, change the order, or update the collection settings as needed.
Types of Cloud Pages
Landing Page:
Follow these steps to create a landing page using Salesforce Marketing Cloud’s content builder:
- Log in to your Salesforce Marketing Cloud account.
- Go to the “Content Builder” section.
- Click on “Create” in the top navigation menu and select “Landing Page”
- Choose a template or start with a blank page.
- Give your landing page a name and optionally provide a description.
- Customize the landing page by adding and arranging components such as text, images, forms, buttons, etc. You can use the drag-and-drop editor to change the layout and design.
- Configure the landing page settings, including the URL, page title, and metatags.
- Set up any tracking or analytics tools you want to use, such as Google Analytics or Marketing Cloud Tracking.
- Preview the landing page to make sure it looks and works as you want.
- Save the landing page.
- Publish the landing page to make it available to your audience. You can publish it immediately or schedule it for a specific date and time.
Use Case: To build a Newsletter Subscription, you can design a landing page where visitors can subscribe to your newsletter or email updates. Collect their email addresses and preferences to ensure targeted and relevant communication.
Mobile Push Page:
Follow these steps to create a mobile push page in Salesforce Marketing Cloud:
- Log in to your Salesforce Marketing Cloud account.
- Navigate to the “Mobile Studio” section.
- Click “MobilePush” in the top navigation menu.
- Select “MobilePush Messages” from the drop-down menu.
- Click “Create” and select “MobilePush Page” as the message type.
- Enter a name for your MobilePush page.
- Customize the content of the page by adding text, images, buttons, and other components.
- Configure the page settings, such as the page title, URL, and metatags.
- Set up any tracking or analytics tools you want to use, such as MobilePush Analytics or Google Analytics.
- Preview the mobile push page to ensure it displays correctly on mobile devices.
- Save the mobile push page.
- Configure the mobile push message settings, including the message title, message text, and target audience.
- Associate the mobile push page with the message by selecting it from the available options.
- Set up additional message settings, such as scheduling the message or adding message actions.
- Save the mobile push message.
- Review and confirm the details of the message.
- Send the mobile push message to the desired audience.
Use Case: To build Interactive Surveys or Forms, use a Cloud Page as a mobile-optimized platform to collect user feedback, conduct surveys, or gather user preferences. You can leverage Mobile Push notifications to invite users to participate in the survey and provide a seamless experience by directing them to a Cloud Page specifically designed for survey interaction.
Microsites:
To create a microsite in Salesforce Marketing Cloud, follow these steps:
- To create a content type, click Create.
- Click Microsite.
- Fill in the Name field.
- Optionally, fill in the Description field.
- If you want to use a private domain, select private domain from the url drop-down menu
- For a secure connection, click http connection. This option prevents access via HTTP, reducing security vulnerabilities.
- Click Create.
- In the site map of your microsite, click Add Page
- To add pages to your microsite, click Add Pages under Site Navigation.
- CloudPages, create a microsite, and define a site map.
- In the Site Map view, click the Schedule/Publish button.
- Select the version of the site map from the drop-down list.
- Select the pages you want to publish
Use Case: Event Registration:
- Create a Microsite to allow users to register for an upcoming event or webinar.
- Include a registration form on the Microsite to capture attendee information.
- Customize the Microsite design to align with the event branding.
- Use Microsite tracking and reporting to monitor registration metrics.
Interactive Email Page:
To create an interactive email page, follow these steps:
- Click interactive page
- Name your page.
- Optional: Fill in the Description field.
- If you are using a My Domain or Custom Domain, fill in the URL field
- Check the SSL box if you want to use only secure HTTPS connections.
- Click Create.
- Hover over the page you created and click Open Content.
- In the Layout area in the editor, click the email form
- From the Confirmation Message Content Type drop-down menu, select the type of content you want to display to the sender.
- Click Editing Complete.
- Use content blocks to create your content.
- Optional: Use the Content tab to drag saved content into a content area.
- Optional: Use the Layouts tab to drag a new layout configuration into a content area.
- Use the Design tab to set the style for the landing page
- To change the edit view, click Layout/Code View.
- To see how your content appears in each view, click Desktop/Mobile.
- To save your work but not publish it, click Save. Submitters receive an error message and no data is collected.
- To publish the page immediately or schedule it for publication later, click Schedule/Publish.
Use Case: To build Survey or Feedback Forms create an interactive email page where recipients can provide feedback or complete surveys directly within the email. Collect valuable data and insights from your audience without requiring them to navigate to an external webpage.
Cloud pages can be a powerful tool to increase engagement and conversion rates in Salesforce Marketing Cloud. By creating personalized landing pages tailored to specific customer segments, companies can improve their overall marketing performance and drive more revenue over time.
In conclusion, Cloud Pages is a valuable tool for businesses that want to create custom landing pages and microsites in Salesforce Marketing Cloud. With its drag-and-drop interface and support for dynamic content, businesses can quickly and easily create personalized landing pages that engage customers and drive conversions. By leveraging Cloud Pages in their marketing campaigns, businesses can improve their overall marketing performance and drive more revenue over time.
We, at Genetrix technology have undertaken several successful projects where we have built custom preference centers, lead generation forms and surveys. To know more, click on the button below!